Sunday, November 28, 2010

(Expat) Thanksgiving leftovers

The most beloved of all American holidays has come and gone, and after so much planning, too. As I mentioned in my last post, I've got quite a few American friends here in Toulouse, and together we starting mapping out Thanksgiving almost as soon as we met, back at the beginning of October. Of all holidays, there's something particularly jarring about being out of the country over Thanksgiving. It's just so very American, obviously, centering on our (in)glorious beginnings as a nation; it almost doesn't translate, holding Thanksgiving in another country, and as bountiful and delicious as our expat Thanksgiving was, it just wasn't the same. And, of course, Thanksgiving is all about family; with all of us being so far away from ours, we instinctively banded together, eager to share our own family recipes so that we wouldn't have to go even one year without our grandma's stuffing, or our aunt's green beans.

I hosted Thanksgiving here at my house, and decided to tackle the bookends of the meal: the turkey, to start with, and pumpkin and sweet potato pies at the end (it was a potluck, and everyone who came contributed side dishes). Unfortunately, none of those recipes was a family one. But I decided to pay homage to my grandma Georgia, this year, with the Thanksgiving leftovers. My grandma hosts a feast of a Thanksgiving at her home in Pittsburgh every year: among an all-star lineup of dishes, my favorites have to be her sweet and sour meatballs, and her pumpkin pie. But another favorite of mine is one that slips under the radar: her day-after, turkey barley soup. She makes it with the stripped turkey carcass, of course, adding root vegetables and nutty barley to the mix, and it's the perfect after-Thanksgiving food: warm, hearty, and nourishing without being heavy, it's a welcome change from the rich, starch-heavy favorites of the Thanksgiving table. This was the first Thanksgiving of my whole life that I didn't spend with my grandma (and the rest of my family), but I figured I could bring her into my home here by making her soup.

Well, my own take on it, that is. I actually couldn't remember what all my grandma puts in her soup, but I knew that its two principal characters are turkey and barley. I had both of those things. I also happen to love mushroom barley soup, so I decided to add mushrooms to my recipe. Given that I succumbed to a nasty cold just yesterday, it was almost as if the soupmaking stars aligned.

I started by making the broth: when I woke up yesterday, I plopped the turkey carcass in a huge pot, added lots of cold water, and simmered that baby away for, say, 4 hours or so. Then I turned off the heat, skimmed the fat and foam off the top, strained out all the bones and bits, added some salt, and my broth was done.


Next, I set to work chopping up some tasty vegetables: leeks, carrots and mushrooms. I sautéed them in butter in a big heavy pot, adding some thyme for flavor and some flour for thickening. Then I slowly poured in the broth, and let the mixture simmer as I moved on to my next task.


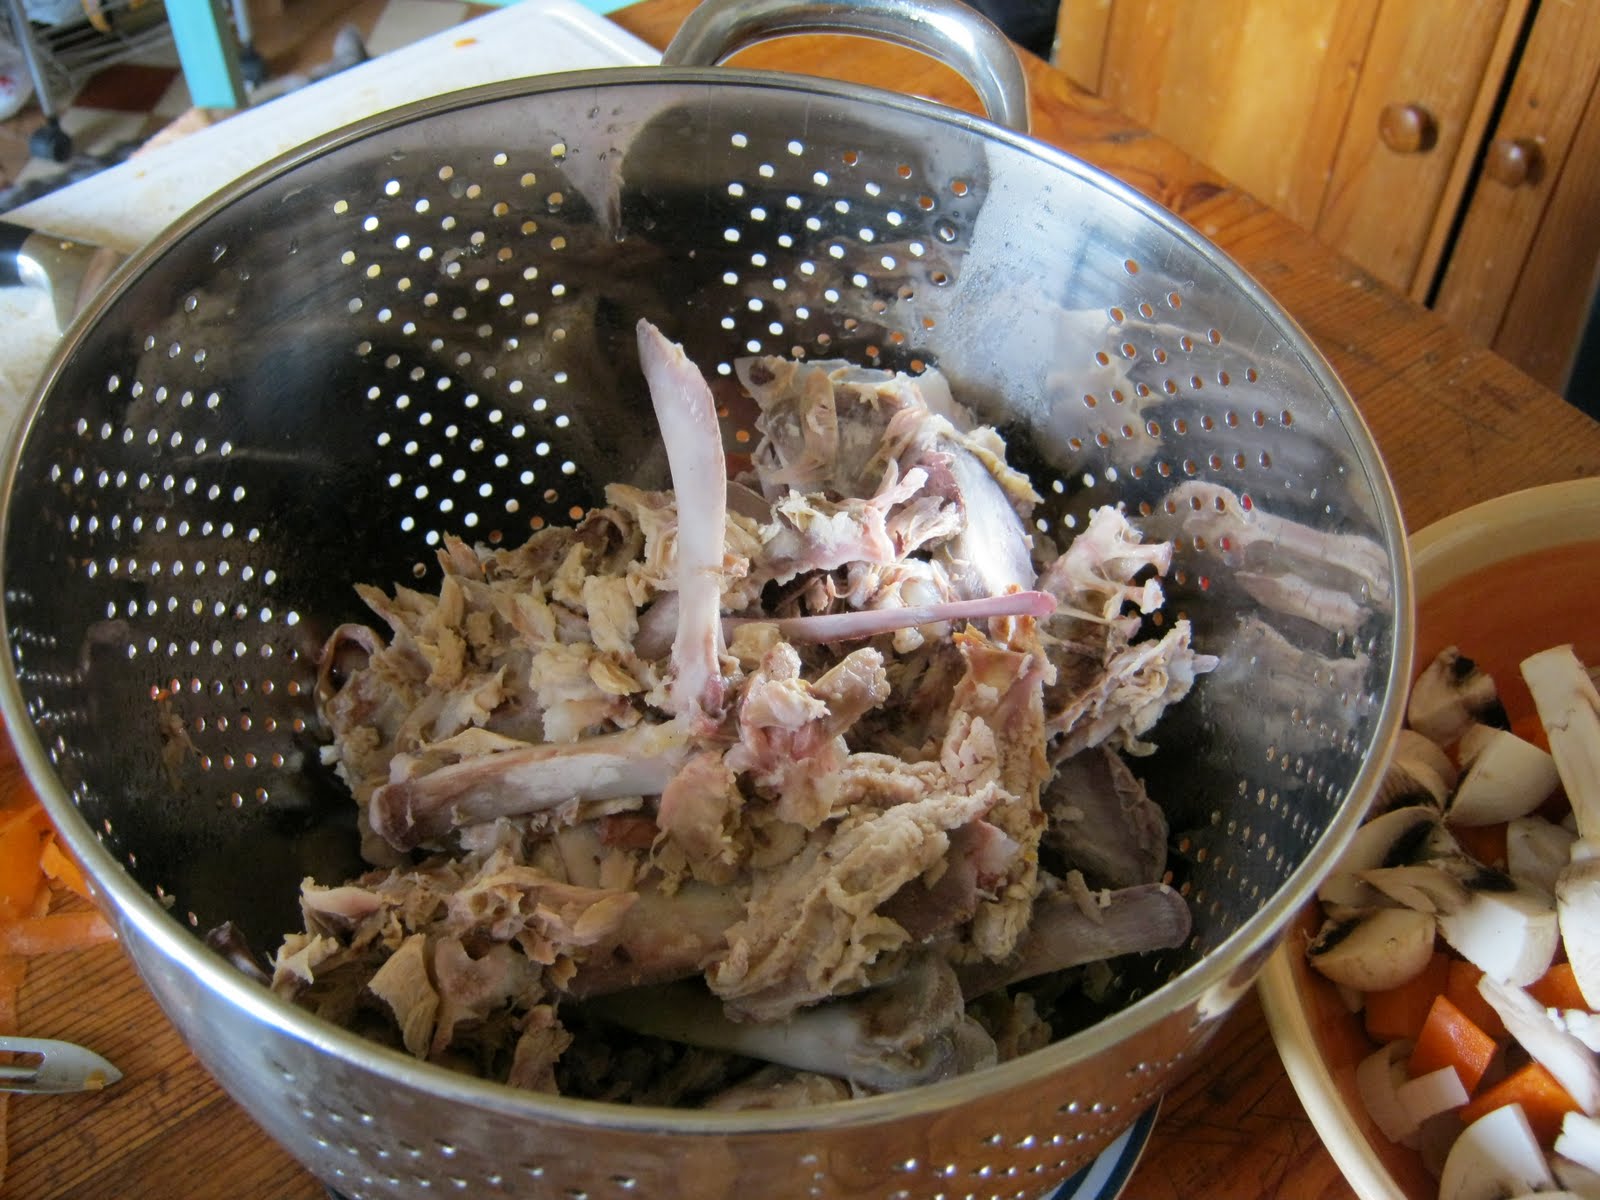
I believe I've written about this on the site before, but I reiterate that soup is one of my favorite things to cook, period. It's a slow, relaxing process, building layers of flavor but never demanding very much effort or technique. And best of all, it feels so economical. That's what I was thinking about as I sifted through the soft, broken-down bones of the turkey carcass, pulling away the last remaining bits of meat and discarding the skin and fat. This turkey had already fed 15 or 16 people, with plenty of meat to spare, and there was still almost a cup's worth of flesh clinging to the bones. I felt like I was really doing justice to the bird, using every conceivable scrap it had to offer.

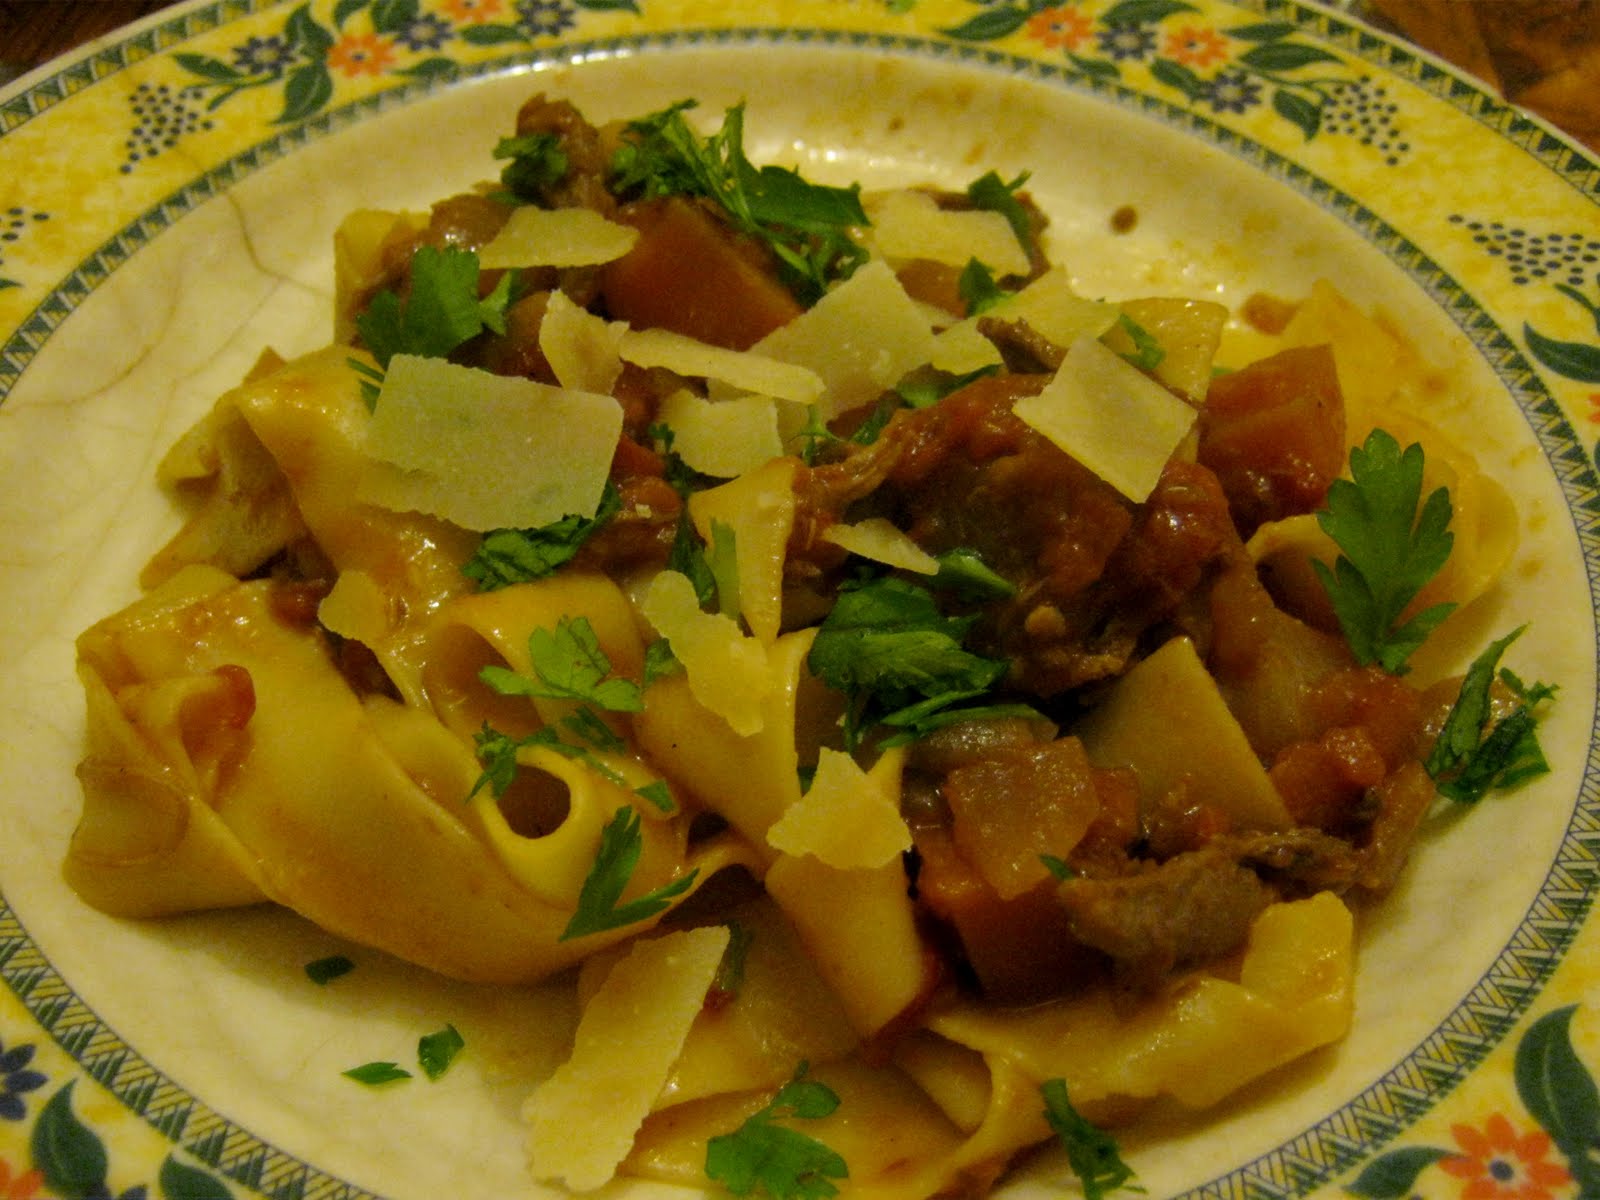
When the vegetables in the soup were tender, I stirred in the remaining turkey meat to heat it through, then ladled a steaming cupful into my barley-filled bowl (I cook and keep my barley on the side, stirring it in portion by portion, so that it doesn't get soggy in the soup). I don't know if my grandma would make this soup like I did--if anything, she would probably simplify it by dumping all the other ingredients right in there with the turkey carcass--but the flavors were almost exactly the same as the ones in her version, and they were powerful enough to transport me all the way to Pittsburgh, Pennsylvania.


Turkey Mushroom Barley Soup
Serves 12

Ingredients:

- 1 turkey carcass, or 2 turkey legs
- 2 leeks, white and light green parts only, sliced into half-moons and rinsed of any grit
- 2 carrots, peeled and cut into a medium dice
- 1 lb. white or brown button mushrooms, sliced
- 3 tbsp. butter
- 1 tsp. dried thyme
- 2 tsp. flour
- 1 cup barley, rinsed and cooked in boiling salted water until tender
- Salt and pepper to taste
- Chopped parsley, for serving

Preparation:

1. Place turkey carcass or turkey legs into a large stock pot and add 8 - 1o cups of cold water. Place over medium heat, bring to a boil, then drop to a simmer. Simmer, partially covered, for 3 to 4 hours.
2. Turn off heat and skim any foam, fat or impurities off the surface of the stock. Strain stock through a fine colander to remove all bones and grit. Set bones aside.
3. In another large, heavy-bottomed pot set over medium heat, sauté the vegetables in the butter until softened, about 8 - 10 minutes. Add the thyme and the flour and cook, stirring, for 5 more minutes.
4. Slowly pour in the stock, stirring to combine. Bring soup to a simmer and cook, uncovered, until vegetables are tender, about 20 minutes.
5. As soup cooks, remove all edible turkey meat from bones, discarding everything else. When vegetables are tender, add turkey meat to soup to heat through. Check soup for seasoning.
6. To serve, place a small amount of cooked barley in each bowl and ladle hot soup over it. Garnish with parsley.

Saturday, November 20, 2010

Dinner club: Part I

One of the nice things about the program I'm doing in Toulouse is that there's a large community of American assistants in the city. Coming here, finding French roommates and practicing my French was my number one priority, and I'm thankful that I was able to achieve that, but even so, I appreciate having people to take an (English-speaking) break with. Even in a first world, western country like France, which on the surface might seem very similar to the United States, cultural differences--some subtle, others not so--abound. It's important to have friends from a similar background with whom you can discuss, critique, and--let's be honest here--sometimes playfully make fun of those differences.

Towards the beginning of my stay, when I was meeting other assistants at various "mixers," one thing I often found myself talking about was--big surprise--food. Like myself, many others cited an interest in good food as one of the primary motivators for their move abroad. After sharing some less formalized meals together, my friend Bonnie and I decided to organize a dinner club, so that our friends who like to cook could come together more often to share recipes and ideas. So far, we've been meeting twice a week: on Meaty Mondays, that week's host makes a dish with meat, and the attendees bring wine or dessert. On Thursdays, the cook makes something vegetarian. The next week, two different people cook on Monday and Thursday, and the next week two other people, and so on and so forth. It's a nice break in the daily routine, where we can come together, speak English and talk about our jobs over some good food.

Last Monday marked the initial meeting of the club, and I hosted. As I mentioned, I would be making a meat-based dish, and because I would be cooking for 7 people, I wanted to select something budget-friendly. Sadly, that usually means chicken, and since I'm often bored by chicken, I wanted to see if I could find something a little more exciting. Luckily, my local Casino supermarket features a weekly meat sale in a refrigerated case near the front of the store. Each week, they load it up with meat that's about to (but hasn't yet) passed its expiration date, at bargain prices. It's a fun way to be inspired: pick up some meat that's dirt cheap, and let that main ingredient dictate what else you'll buy and cook.

For Monday's dinner, I was lucky enough to find some rich, meaty duck legs on sale. I picked up four large ones, and the total came to less than 8 euro! Duck legs need long, slow cooking, both to render the enormous amounts of fat that they come enrobed in, and also to tenderize the somewhat tough meat. I decided to make a slow-simmered ragù, with shredded duck meat and a simple base of carrots, onions and tomatoes.

I started off by slowly searing the duck legs over a low flame, without any seasoning, in order to render most of their fat. And don't throw that duck fat away! For cooking, it's liquid gold: use it to sauté vegetables, use it to make warm salad dressings, and definitely, definitely use it to roast potatoes: their flavor and richness is, well, indescribably good. (To keep rendered duck fat, strain it into a clean container, cover, and refrigerate indefinitely.)


Once I had rendered the majority of the fat off the duck legs, I removed them to a plate to cool, then I used a small sharp knife to cut off some of the pockets of fat that remained. I saut
éed garlic, onions, and carrots, along with a bit of dried thyme, in a heavy pan, then added crushed canned tomatoes and red wine once they had softened. I slipped the duck legs back into the pan, covered it, and simmered away for about 3 hours. Then I took the duck legs back out, chilled them down rapidly in the fridge, pulled away and discarded all the remaining skin and fat, and shredded the meat into bite-sized pieces that I deposited back into the sauce. A little before my guests were due to arrive, I turned the heat under the pan back on, and further reduced and heated the sauce for about a half hour. Finally, I ladled the sauce over some al dente egg noodles, garnished it with shards of parmesan and chopped parsley, and ate. A 30-minute meal this was not, but it was well worth it in the end.


Slow-Cooked Duck Rag
ù
Serves 8 - 10

Ingredients:

- 4 whole duck legs (both thigh and drumstick)
- 1 tbsp. olive oil
- 2 large onions, cut into a small dice
- 2 large carrots, peeled and cut into a large dice
- 4 cloves garlic, finely chopped
- 1 tsp. dried thyme
- 1 28-oz. can whole peeled tomatoes, crushed by hand
- 1/2 bottle dry red wine
- Salt and pepper to taste
- Grated or shaved parmesan cheese, for serving
- Chopped parsley, for serving
- 1 1/2 lbs. egg noodles, cooked, for serving

Preparation:

1. Arrange the duck legs in a large, deep, heavy-bottomed pan and place over low-medium heat. Cook for 20 - 30 minutes, turning the duck pieces occasionally, until they have rendered the majority of their fat. Strain the fat into a jar for later use. Set duck aside to cool. When cool, use a small sharp knife to cut away any large pockets of fat.
2. Drain off all but 1 tbsp. of duck fat from the pan and add 1 tbsp. olive oil. Sauté the onions, carrots and garlic over medium heat until softened. Add the red wine and bring to a boil, using a wooden spoon to scrape any bits from the bottom of the pan. Add the canned tomatoes and some salt and lower sauce to a simmer. Put the duck back in the pan, cover, and simmer for 3 hours.
3. Remove the duck legs from the sauce and cool them on a plate in the refrigerator. When cool, remove all remaining skin and fat from the duck and discard. Using your hands, remove the duck meat from the bone and shred into bite-size pieces. Stir the duck back into the sauce.
4. Place the whole pot in the fridge and cool for at least 2 hours or as long as overnight. The excess fat will rise to the surface; skim it off and discard.
5. 30 minutes before eating, turn the heat back on and simmer sauce. Check for seasoning. Serve over egg noodles, garnished with parmesan and parsley.

Monday, November 15, 2010

Too much of a good thing

I've been in France for a little more than a month now, and for the most part I've been embracing French ingredients and cooking methods: you can't get much better than a cuisine based on delicious essentials like good butter, good bread, good cheese, and aromatics like garlic, shallots, onions, and a variety of herbs. That being said, it's getting to the point where I'm starting to miss the heavily Asian accents my cooking has been taking on over the past few years, and especially right before I made the big move overseas.

I find it odd that for a country that happily colonized several Asian countries during its Third Republic, the French are remarkably resistant to spicy food, and, in general, Asian ingredients and condiments are quarantined to a limited number of specialty épiceries , or grocery stores. You should see the "international" section in my local supermarket; I almost literally laughed, when I did. There were a few dusty jars of curry sauce, some teriyaki and soy sauce, a little bag of dried peppers. Not much to work with, that. (To be fair, I've heard good things about the épiceries asiatiques here in Toulouse, and I'm planning on checking them out this week or next. I'll report back.)

Sometime last week, I was jonesing for a quick, spicy dinner, and my heart sank a bit when I realized that my usual staple, fried rice, just wasn't going to be possible: I was lacking, well, almost everything but the rice. I did notice, however, a small carton of coconut milk among the pantry items, and when I also spied some bright red lentils nearby, I had it: curried lentils. I'd never made it before, but it seemed easy enough, and fast, too: red lentils cook through in about 15 minutes.

I set to work chopping up some garlic, ginger, shallots, and a (homegrown!) red chili. Then I took a picture, because I thought the colors looked pretty together:


Then I rinsed some of the aforementioned lentils, drained them, and took another picture because, they, too, looked beautiful:


I sautéed the garlic, ginger, shallots and chili in some oil, adding a few good shakes of curry powder when they softened. Then I added the lentils, the container of coconut milk, and enough water to cover. I simmered this mixture over medium-low heat, adding more water as necessary, for about 15 minutes, then ate the curry over rice, with a squeeze of lemon and some harissa (the easiest hot sauce to find in these parts, France being so near to North Africa and all) on top. It wasn't fried rice, but it went down just fine.


Curried Red Lentils

Serves 6

Ingredients:

2 tbsp. vegetable or canola oil
3 cloves of garlic, minced
3 tbsp. minced fresh ginger
3 shallots, finely chopped
1 hot red chili, seeds removed, minced
1 tbsp. curry powder
3 cups red lentils, rinsed and drained (you cannot substitute green or brown lentils, they don't cook in the same way)
1 can (14 oz.) coconut milk, or use light coconut milk
Water
Salt
Lemon or lime wedges, for serving
Sriracha or other chili sauce, for serving

Preparation:

1. Heat the oil in a medium-sized, heavy-bottomed saucepan set over a medium flame. Add the garlic, ginger, shallot and chili and saut
é until softened, about 5 minutes. Add the curry powder and cook until heated through, about 1 minute.
2. Add the lentils, the coconut milk, and enough water to cover the lentils by about 1 inch. Salt. Bring the mixture up to a boil, then drop to a simmer.
3. Cook, stirring occasionally, for about 15 minutes, adding more water if the lentils absorb it all too quickly. Check for seasoning and serve over rice, with lemon or lime wedges and sriracha.

Tuesday, November 9, 2010

The perfect French lunch

I'm here today to extol the virtues of one of the world's most perfect, most luxurious foods: warm cheese. Yes, warm cheese. Tell me something: when you read those two words together, doesn't your stomach do a little flip of joy in sweet anticipation? Where does one begin, really, with warm cheese? There it is on your pizza, or oozing in between your two slices of sandwich bread, or melting over your bowl of pasta, or possibly bubbling and gurgling slowly, awaiting the next plunge of your fondue skewer (if you're a stuck-in-the-seventies kinda person, like, ahem, someone I may know?).

What's so great about warm cheese (besides, of course, its taste) is its equal opportunism, its democratic nature: it's found alike in cuisines high and low. Let's take, say, lasagna, as just one example of the myriad, masterful examples of classic Italian cuisine built on a foundation of soft, salty, creamy warm cheese. And then on the other hand there's the grilled cheese or the fondue that I cited above: nowhere near as technical, yet every bit as satisfying (and sometimes more so).

The dish I want to talk about today falls somewhere in the middle: perhaps not the most sophisticated dame on the block, but pretty damn classy nonetheless. It's simple baked goat cheese, and it's yet another recipe I learned from Emilie when I was volunteering on her farm in southern France last fall. Actually, the preparation is so straightforward that it barely qualifies as a recipe at all, and it goes something like this: 1. Drizzle goat cheese with oil. 2. Bake. 3. Eat, with bread and salad. 4. Repeat.

Philippe and Emilie, the farmers I worked with last year, brought their impeccable produce to market three times a week, on Tuesdays, Fridays, and Sundays. Those were hectic mornings, which consisted of rising early to finish prepping the fruits and vegetables for sale, loading them into the truck, and harvesting delicate items, like salad greens, at the very last minute. Then it was off to market to set up the stand and sell until sometime around 2 pm, when the last vendors were packing it in for the day. That meant that there really wasn't a lot of time to throw lunch together. What it didn't mean was that we'd eat any less fantastically than we did on all other days. Often, on market days, this baked goat cheese, plus a (homegrown) salad and a fresh baguette, was Emilie's go-to lunch, something that took perhaps five minutes to prepare, but was delicious and filling nonetheless.

Despite having eaten and enjoyed Emilie's baked goat cheese on numerous occasions last year, I just plain forgot all about it until yesterday, when I found myself in my local supermarket right around lunchtime and my stomach started to speak up. I was browsing the cheese section, because when am I not browsing the cheese section here in France, when my eyes settled on a small, firm, dappled round of perfect-looking goat cheese. Emilie's lunches popped right back into my head, and within ten minutes I was home and sliding the olive oil-slicked cheese into the oven:


And about 15 minutes later my little friend emerged all golden, its creamy insides threatening to overrun the tiny cracks in its ever-so-slightly crispy shell:


I don't think my words can adequately capture just how good this incredibly simple dish is: the cheese exits the oven warm, impossibly creamy, salty and tangy, its burnished outside contrasting texturally with its melting interior. I always eat it alongside a simple green lettuce salad dressing with a lemony vinaigrette, as well as some fresh bread, as I mentioned before. I eat the cheese smeared onto the bread, or just as is, with some lettuce speared onto my fork, or sometimes I drag the cheese-anointed bread through the vinaigrette: the citrusy brightness cuts through the richness of the cheese and makes this lunch feel almost like health food. Almost.


Baked Goat Cheese
Serves 1

Ingredient note: select a slightly firm, slightly aged goat cheese for use in this recipe. You don't want anything too fresh, because it won't stand up to the heat of the oven, but you don't want anything too aged, either, because it won't be tangy and refreshing like it's supposed to be. Shoot for something in between.

Preparation:

1. Preheat the oven to a moderate temperature, say, 300°.
2. Place the cheese in a small glass baking dish and drizzle it with about 1 teaspoon of olive oil, smearing it all around the cheese and on the bottom of the dish so it doesn't stick.
3. Bake until the cheese is slightly browned and warmed all the way through, about 15 minutes.
4. Serve, with a green salad (I use a dressing made of mustard, lemon juice, olive oil and salt) and some fresh crusty bread.

Friday, November 5, 2010

Part III: Apple Cinnamon Coffee Cake

After a bit of a pause (a school vacation, which I spent working on a farm in Ariège, a region in southwest France nestled in the Pyrenees), I'm back in Toulouse and ready to bring my 3-part series on Apple Desserts to a close (for the time being, at least--I've got a bucket of homemade applesauce in the fridge upstairs that's just begging to be transformed into this applesauce cake).

You might notice that many of the recipes I share on this site are adapted from Smitten Kitchen, and this dessert is no exception (that applesauce cake up there, too, comes from SK). Smitten Kitchen is probably my favorite food blog: the site's author, Deb, always seems to select (or create) the recipes for things I just happen to be craving; her adaptations always makes sense, and her recipes always turn out. I especially like to refer to her when I'm baking, since baking is not my forte but is certainly hers (I mean, the woman's Recipe Index has an entire section devoted to sweets!).

So of course when I was looking for good apple dessert recipes, I went over to Smitten Kitchen first. And this apple cake, that's Deb's mom's recipe, fit the bill exactly. It's moist and sweet, and actually reminds me a great deal of an apple cake that my grandmother makes (I suppose when it comes to apple desserts, it's best to keep it all in the family!). What I love about this recipe is its clever pairing of orange with apple: it calls for a little orange juice to be mixed in with the wet ingredients, and I upped the orange ante by using fresh-squeezed juice, as well as substituting orange blossom water for the vanilla. Insert clever pun on "it's like apples to oranges" here.

I know I said the exact same thing about my pumpkin apple bread, but this cake makes just as good a breakfast as a dessert, and I eat it in exactly the same way: with a bit of plain yogurt, to cut the sweetness and richness. As the cake sits (and it won't last long, trust me!), it gets even more moist and luscious. Who wouldn't want to be greeted by this vision first thing in the morning?


Apple Cinnamon Coffee Cake
Makes 1 cake
Adapted from Smitten Kitchen

Ingredients:

8 baking (firm, not too sweet) apples, peeled, cored and cut into medium-sized chunks
1 tbsp. cinnamon
5 tbsp. sugar
2 3/4 c. all-purpose flour
1 tbsp. baking powder
1 tsp. salt
1 c. vegetable oil
1 3/4 c. sugar
1/4 c. orange juice
2 tsp. vanilla extract, or use 1 tsp. almond extract or orange blossom water
4 eggs

Preparation:

1. Preheat oven to 350°. Grease a tube pan or a large rectangular glass baking dish. Toss apple chunks with cinnamon and sugar; set aside.
2. Combine flour, baking powder and salt in a large mixing bowl. In a separate bowl, whisk together oil, orange juice, sugar and vanilla. Add eggs to wet ingredients, one at a time, mixing well to combine.
3. Add the wet ingredients to the dry ones and stir until just combined. Pour half of the batter into the prepared pan. Top with half the apples, distributing evenly. Pour the other half of the batter over the apples; top with remaining apples. Place pan in the oven and bake for about 1 1/2 hours, or until a toothpick comes out clean.